This is a cool example how anyone can transform a simple boring napkin ring into a "bling" napkin ring.
Materials you will need for this project:

- any simple cheap napkin ring - wood, plastic or metal, wider ones give better final efect
- decorative beads of your choice (bought mine in a craft store)
- clear glue
- possibly scissors, q-tips and tweezers
- imagination;)


I chose these blue beads since my dining room is a mix of brown, white and blue accent color


I glue one bigger bead on each side of my napkin ring and afterwards started to add some smaller ones


Final effect on the table:)


Another suggestion:
Flea markets are the best places to find napkin ring inspirations. For example one can come across some vintage brooches or interesting looking buttons and use them instead of beads


Front Entry Way - DIY project
One of my Saturdays I decided to work on my front entry way look. I think you agree with me saying that main entry way should be always welcoming looking:) Mine needed some refreshment after winter so I painted my concrete floor that had some water stains and just looked ugly. I choose this interesting brown shade called Vaquero Brown from Quikrete that perfectly goes with my house colors but there are so many different colors to choose from:)

 Adobe Tint
 Saltillo Tile
 Artifact
 Peridot
 Tranquil Pool
 Shale Stone

Autumn Tint
 Red Rocks
 Graystone
 Olive Shade
 Blue Alloy
 Gray Ash
 Sarong
 Quarry Red
 Loden
Loden
 Mirage
 Thunder Cloud
 New England Slate
 Tuscan Sunset
 Cheyenne Rock
 Arizona Clay
 Green Oxide
 Aqua Stone
 Gunpowder
 Burnished Gold
 Gem Stone
 Vaquero Brown
 Shaded Forest
 Cavern Pool
Adobe Tint
Saltillo Tile
Artifact
Peridot
Tranquil Pool
Shale Stone

Autumn Tint
Red Rocks
Graystone
Olive Shade
Blue Alloy
Gray Ash
Sarong
Quarry Red
Loden
Mirage
Thunder Cloud
New England Slate
Tuscan Sunset
Cheyenne Rock
Arizona Clay
Green Oxide
Aqua Stone
Gunpowder
Burnished Gold
Gem Stone
Vaquero Brown
Shaded Forest
Cavern Pool
Check out this link for interesting ideas on Quickrete website to update for example your driveway and sidewalks just with paint:
I also bought these new planters I found for pretty good price and bought some new plants. At the the end I just added a new floor mat and it was all done. Nice and easy. Here are some photos before and after. Hope you like it:)


 |
| The result |

 |
| Loving this plant combination:) can't wait till it grows a little more |


- DIY decorative vase which I named submerged flower. I got inspired while visiting Las Vegas newer hotel Vdara. They had in their lobby and throughout the hotel these amazing flowers inside glass vases of different shapes and sizes. Their flowers were real tropical ones and were changed every so often as needed.
What you need is an interesting glass - see through vase, some decorative marbles and your choice of an artificial flower you will put inside the vase upside down after cutting off the stem.
Voilà ;)

- Taking pictures is my passion. I have thousands of them but unfortunately I can't display all of them. Having few digital photo frames around the house helps in this case;) but there are always few of these special pics worth putting in a nice decorative frame. I like black and white pictures the most. They have this unique character. I always look in stores for some interesting patterns and textures on different things, whether it is a napkin or a placemat or maybe a wallpaper. Visiting craft stores is of course always a good idea in search of these kind of things too. Here is what I did recently with my favorite picture of my son from his early years:
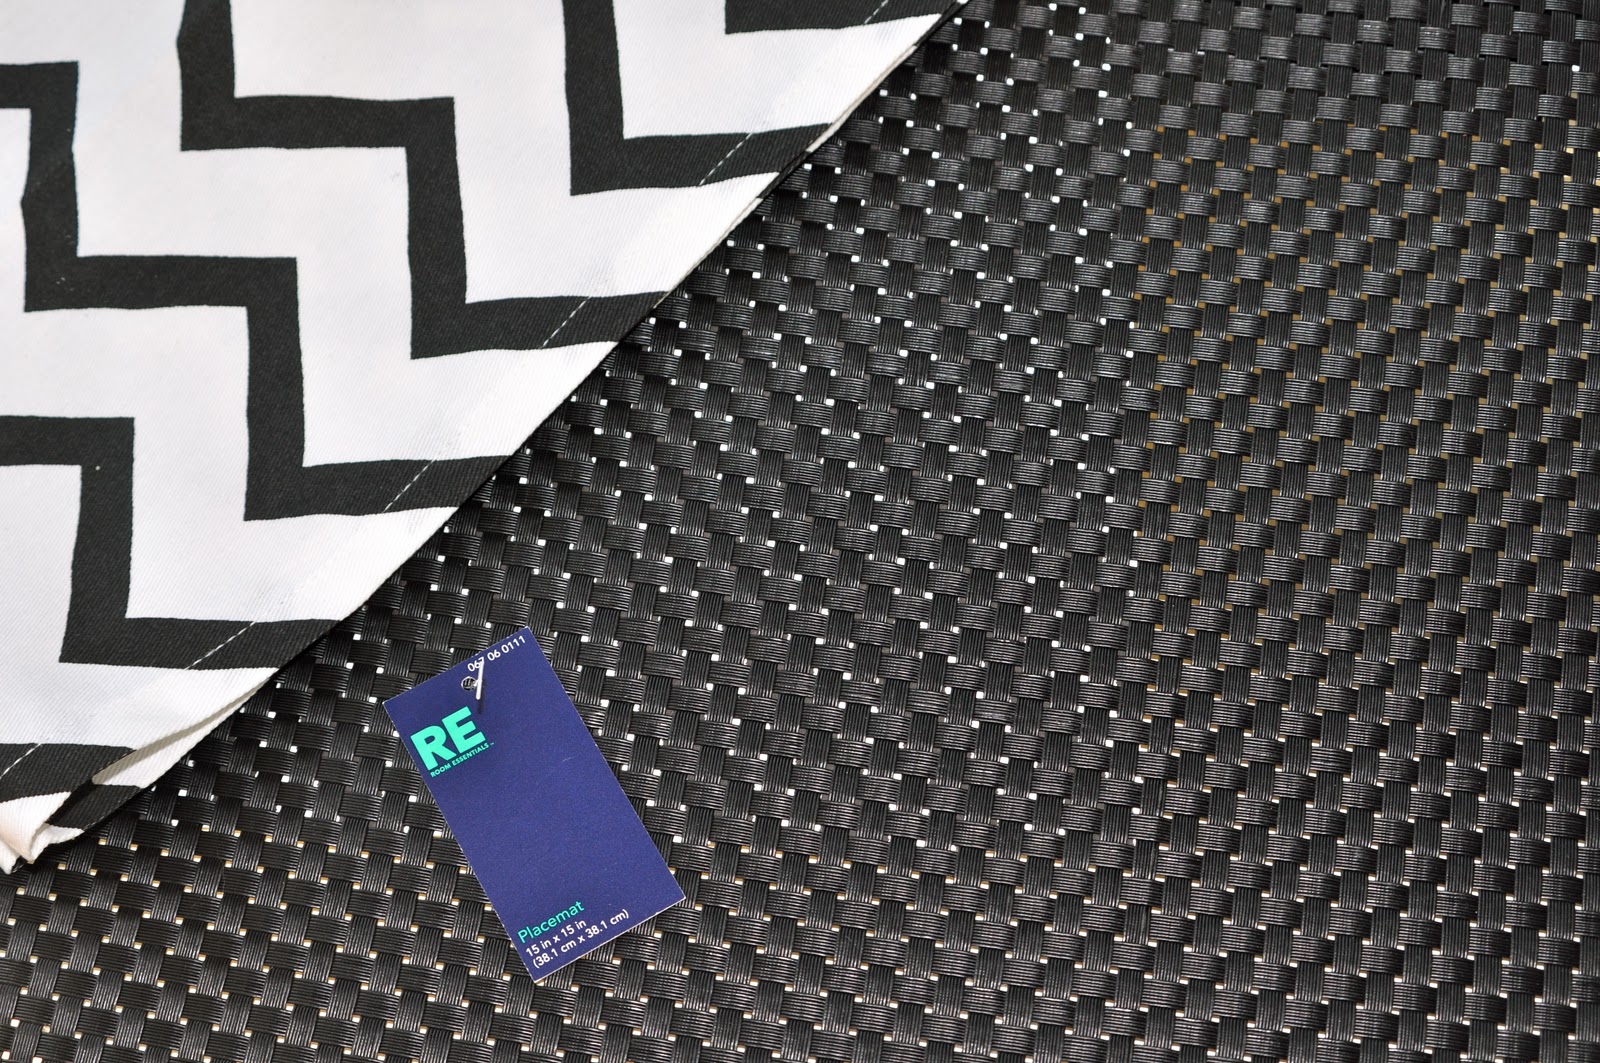
- I found in Target this black textured placemat just $2.95 and interesting napkin also $2.95
- my eyes were also drawn to this black and white ribbon stripe decorative paper just $0.99

- I bought black frame on sale for $10 in a craft store and started playing with all my items

- I cut the textured black placemat as my main background first...


- then I tried my napkin to put as a second background but I found the zig zag design to be too big for the size of my frame. It would definitely look better in a bigger frame as a main background. In this case I would have had to cut a lot of it... (Tip: if you use any fabric to be framed always steam iron it first for smooth, wrinkle free look)
 |
trying zig zag napkin
|
- ...so I ended up with my decorative ribbon stripe paper as my second background and here is final result. Hope you like it:)

 |
in my office:)
|
...another idea, if you don't want to frame picture necessary. I used an artificial white flower and removed glass from the frame. Like I said just an idea;)
